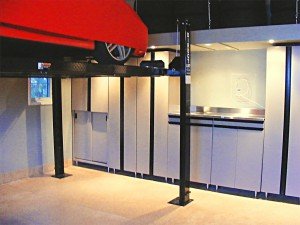
Previous articles have addressed the refinishing of your garage floor. We covered everything from the fundamental steps required for proper floor preparation to the application of your new floor covering. Next, you will want to consider what is commonly referred to as the finishing touches. In this case, finishing touches can be separated into three key areas: drywall, painting and lighting.
Drywall is an established garage wall covering material found on both existing and newly constructed homes. Unfortunately, in many cases the drywall installation is only about fifty percent finished. That is, when the home builder was done with the garage, he may have left the drywall both unsanded and unpainted. Now understand this is a common practice and totally above board. The builder is simply following the building code and completing what he needs to do to complete the job.
Yet unfinished drywall is not just found in newer homes. Actually, there are quite a few existing homes out there where the garage hasn’t actually been touched since the builder left. That’s quite common, and now that you have decided to move forward and upgrade your garage you can be sure it’s done right, the way you want.
You see, the time you have set aside to refinish your garage floor gives you the perfect opportunity to take care of that drywall. Here are a couple of options for you to consider. First, imagine the scenario where the drywall is already installed and thoroughly covering your garage walls. With this scenario, the existing drywall might only need to be sanded and painted. Also, there may be a few areas where the existing drywall needs to be patched or repaired and then re-mudded. “Remudding” is just contractor speak for applying new joint compound to the seams between the drywall sections. Remember, the point of the “mudding” process is to make the joints invisible so that your wall looks smooth and uniform. Of course, at this point you will want to choose a paint color complimentary to your home exterior and garage floor covering.
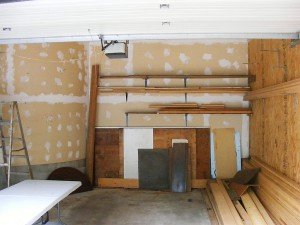
Another scenario is when the drywall installation doesn’t cover as many walls as you want or is damaged in one or more areas. When this is the situation, you can choose to install drywall over any other areas you want as well as replacing or patching any damaged drywall. One thing to keep in mind with new drywall installation is that the building code requires newly installed drywall to be at least 5/8 inch think and fire retardant. After the correct drywall is installed, the same “mudding” process, sanding and painting procedures needs to be completed.
Once you have addressed the drywall in your garage, now you will want to consider painting. Of course, if your garage walls are drywall, they will have been painted as explained above. But what about exposed concrete or exposed brick walls? You will be pleased to learn that both of these garage wall surfaces are prime candidates for a new coat of paint. There are combination paints that serve as both a sealant and paint. We’re experts at making your garage interior match your home’s exterior as well as garage flooring, so whether you already have garage flooring or coloured cabinets, we can recommend colours which will make your garage match the rest of your home when the door is open and being enjoyed by your entire family during the warmer months.

Lighting is the third area I’d like to discuss when considering finishing touches for your garage. The typical garage lighting is modest at best. Often times, there are either one or two incandescent fixtures with a single bulb. While that may be all right for the builder, it may not look so good once you refinish your garage. In fact, most people who choose to transform their garage use this opportunity to upgrade their garage lighting.
There are three popular options available to you when you decide to upgrade your garage lighting. Your first option and the most popular choice is replacing the incandescent fixtures with LED lighting fixtures. LED’s have exploded in popularity and dropped in price. They consume far less energy, put out more light, last a lifetime, have controls over the color temperature, and come in a variety of very attractive fixtures. Fluorescent bulbs are still a good option, but one precaution to be aware of is to make sure your fixture includes T8 rated bulbs. The ‘T8’ rating indicates those bulbs are designed to work in colder temperatures. Fluorescent tubes do go out and have to be disposed of carefully as many contain elements that are not appropriate for regular landfills. LED lighting is the fast and economical upgrade recommendation to your existing garage lighting.
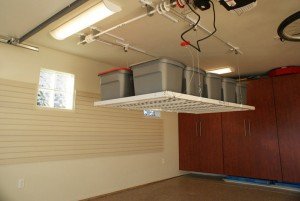
On the other hand, the alternate lighting option is to install recessed lighting or what the home builders refer to as “pot lighting”. Recessed lighting or pot lights need an opening or recess to accommodate the new fixtures and is most commonly found in garages with finished ceilings or often, under our custom overhead storage platforms where we again have the space to recess the pot lights and run the electrical wiring.
Next month, we’ll review additional finishing options such as baseboards, casings and doors.


